REVIEW · BUENOS AIRES
Buenos Aires: Private Photo Tour for Ammateur Photographers
Book on GetYourGuide →Operated by PHOTO TOURS IN BUENOS AIRES · Bookable on GetYourGuide
Three hours can change how you see Buenos Aires. I like the way this tour saves time by aiming straight at the most photogenic corners first, then teaching you how to make your shots stronger. My other favorite part is the coaching from Bernardo Galmarini, a worldwide published Buenos Aires travel photographer, so you’re not just taking pictures—you’re learning how to take better ones. The main drawback to plan around: you need to bring your own camera gear and you’ll be walking on cobblestones, so comfortable shoes matter.
You start with a short talk in a typical Buenos Aires café, usually coffee and croissant included, then head into La Boca around Caminito. After that, you take a quick public bus hop to San Telmo for old cafés, Dorrego Square, and the Old San Telmo Market—an efficient route that fits a 3-hour schedule without feeling rushed.
In This Review
- Key things that make this photo tour work
- Why the La Boca-to-San Telmo route is smart
- Fundacion Proa as a starting point (and how the café lesson sets you up)
- La Boca and Caminito: what you’ll be photographing and how to frame it
- The 15-minute bus hop to San Telmo: efficient change of scenery
- Dorrego Square and old cafés: finding composition in older streets
- Old San Telmo Market: where your photos gain personality
- Bernardo Galmarini’s coaching style: what you should expect to learn
- Price and value: is $200 per person worth it?
- Should you book this Buenos Aires photo tour?
- FAQ
- How long is the Buenos Aires private photo tour?
- Where does the tour meet?
- What’s included in the price?
- Is it a private group?
- What languages are available?
- What camera gear should I bring?
- What lens range is suggested?
- How do I get to the meeting point from my hotel?
Key things that make this photo tour work
- Fast visual route: La Boca first, then a 15-minute bus to San Telmo, so you spend less time wandering.
- Café intro that matches your level: If you already know your camera, you can go straight into shooting.
- Bernardo Galmarini’s coaching: Real guidance on exposure and composition while you’re photographing.
- Photo practice in two iconic neighborhoods: Colorful street scenes in La Boca, then classic market and café atmosphere in San Telmo.
- Gear and lens tips built in: You’re encouraged to bring lenses roughly 24mm to 120mm for most subjects.
- Small, focused duration: At 3 hours, you get a concentrated mini-lesson and a real set of images.
Why the La Boca-to-San Telmo route is smart
If you’ve only got a short window in Buenos Aires, this plan is practical. La Boca and San Telmo are close enough to pair in one outing, but different enough to keep your photos interesting. You’ll get street color and character in La Boca, then shift to San Telmo’s older streetscape, cafés, and market vibe.
What I like most is that the tour doesn’t ask you to figure everything out on your own. You get help moving quickly between photogenic spots, plus photography guidance while you’re there. That combination matters because it tackles two problems at once: where to stand, and how to frame what you see.
The itinerary also respects how people actually photograph on vacation. You’ll start with an easy warm-up (coffee and a short talk), then shoot in bursts, then move. It’s the kind of flow that helps you come home with images you’re proud of, not just random vacation snaps.
You can also read our reviews of more private tours in Buenos Aires
Fundacion Proa as a starting point (and how the café lesson sets you up)
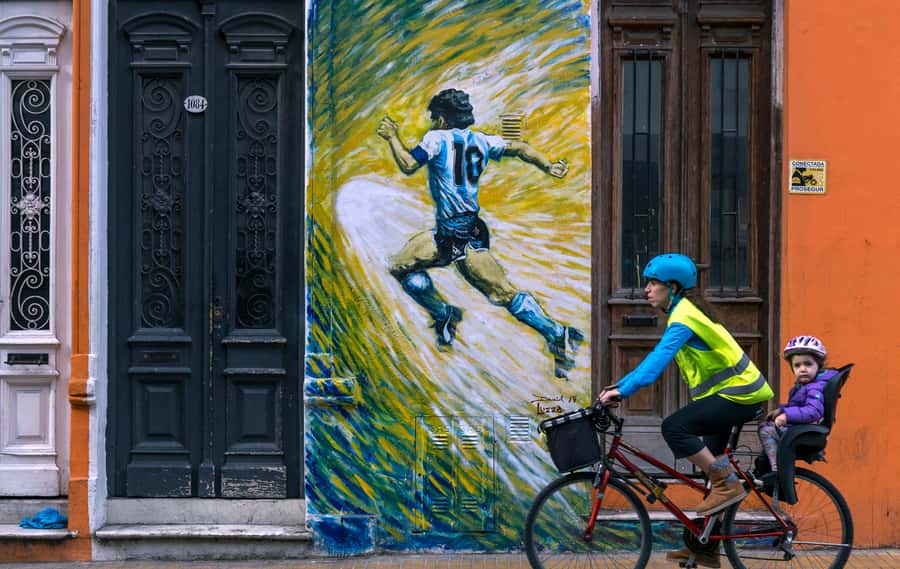
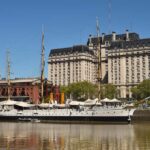
The tour begins near Fundacion Proa, in the heart of the Caminito area. It’s a very touristic part of La Boca, and it’s positioned where buses and taxis can stop—so getting there is usually straightforward.
Right away, you get an intro in a typical notable café. This part is more than a meet-and-greet. Bernardo talks through camera basics like exposure, and he’ll cover composition if it’s needed. If you already know your way around your camera, the pace can shift quickly toward shooting, instead of turning into a long lecture.
You’ll also have a snack included—think coffee with croissants or a similar option. That sounds simple, but it’s useful. It gives you a relaxed start and keeps energy up before you hit cobblestones and busy streets.
Practical tip: bring extra battery power. The tour runs about 3 hours and the shooting time in two neighborhoods adds up fast. If you’re relying on one battery, you’ll feel it.
La Boca and Caminito: what you’ll be photographing and how to frame it
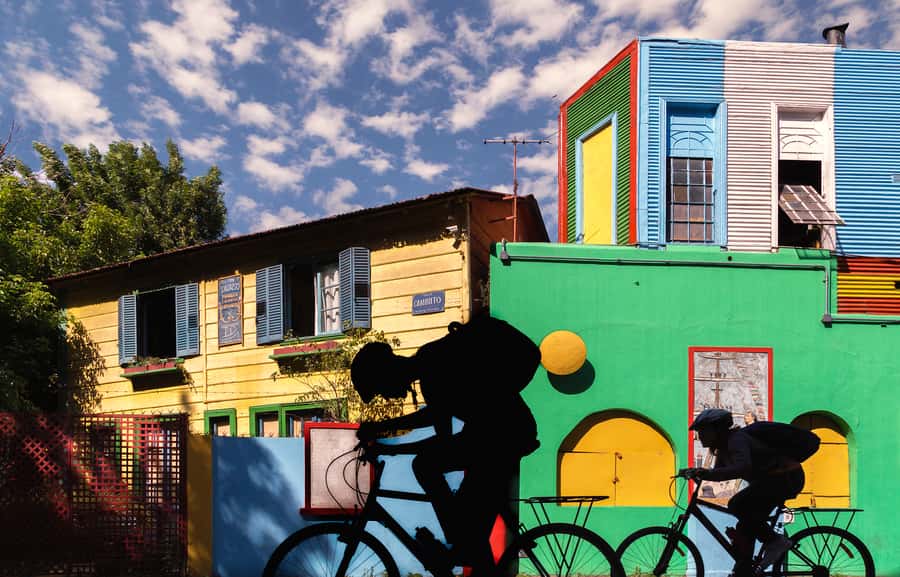
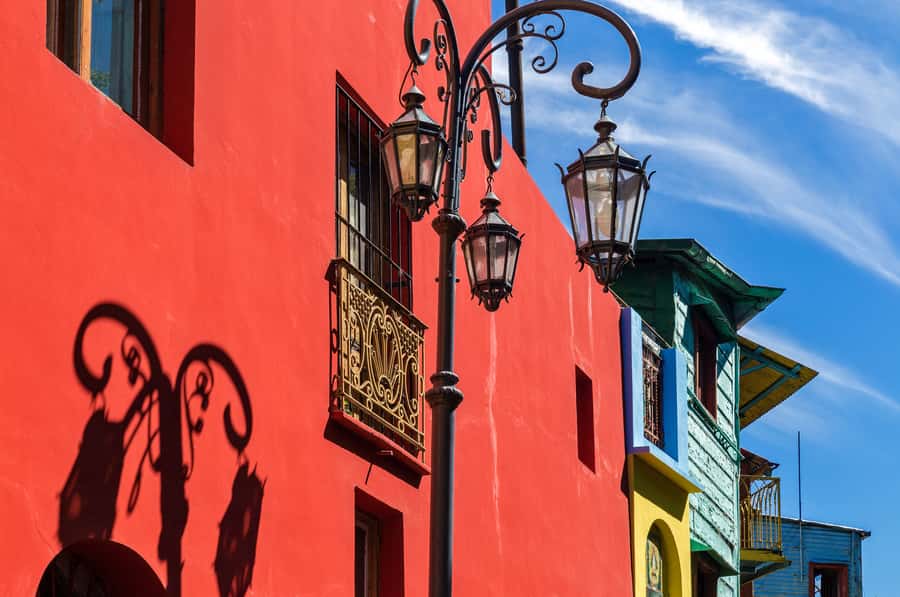
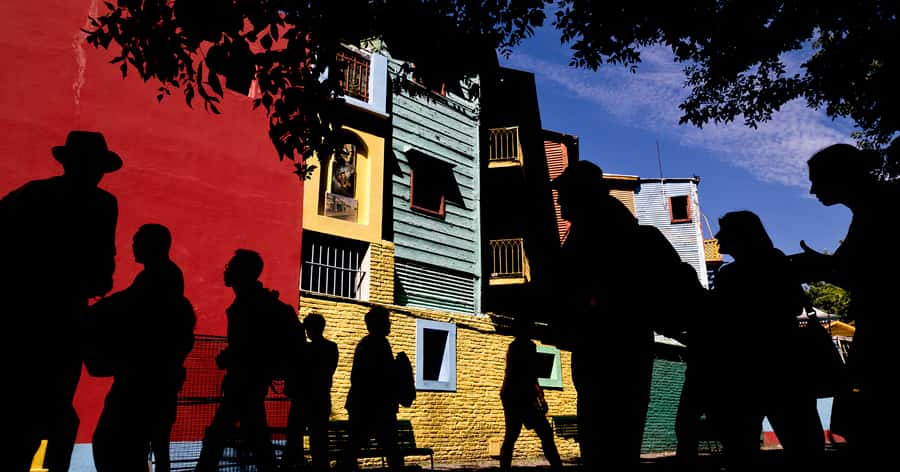
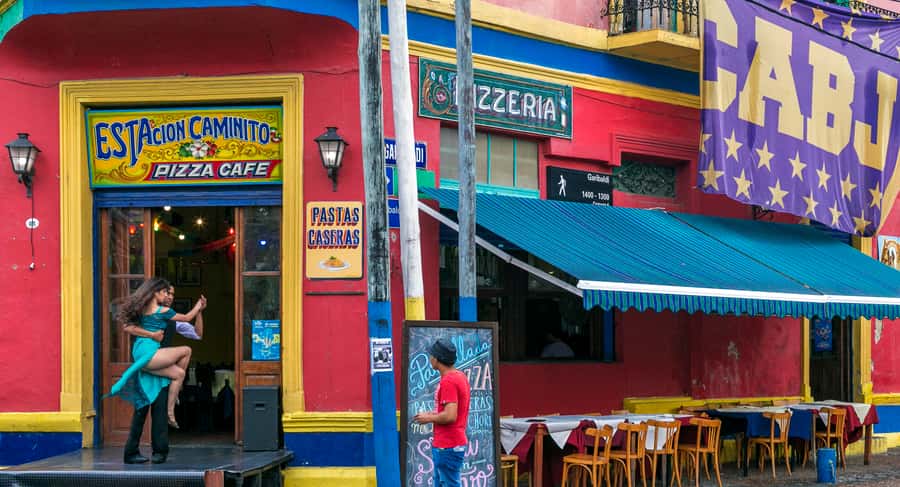
La Boca is where you’ll do your first set of photos, especially around Caminito. This is the neighborhood people recognize, and for good reason. The streets offer strong visual ingredients—color blocks, textured surfaces, and tight sightlines that can look great in wide-angle shots and close details.
Here’s why the tour works for amateurs: you’re guided to the most photogenic corners, so you don’t spend your limited time walking around trying to find the “right” angle. You also get technical nudges while you shoot. That means when you’re faced with a tricky street scene—bright highlights, mixed lighting, or people moving through the frame—you have someone to help you think through it.
Lens guidance helps a lot here. You’re encouraged to bring a focal length range between 24mm and 120mm for most subjects. For La Boca, a wider angle (around 24mm) can help you capture the street’s geometry and signage in context. A medium or short telephoto (closer to 60–120mm) can help isolate faces, textures, and smaller details without getting too close.
One thing to keep in mind: La Boca’s streets include cobblestones. Expect uneven footing. Move carefully, and let your camera angle do some of the work. If you’re balancing on awkward ground while trying to nail framing, you’ll miss shots.
The 15-minute bus hop to San Telmo: efficient change of scenery
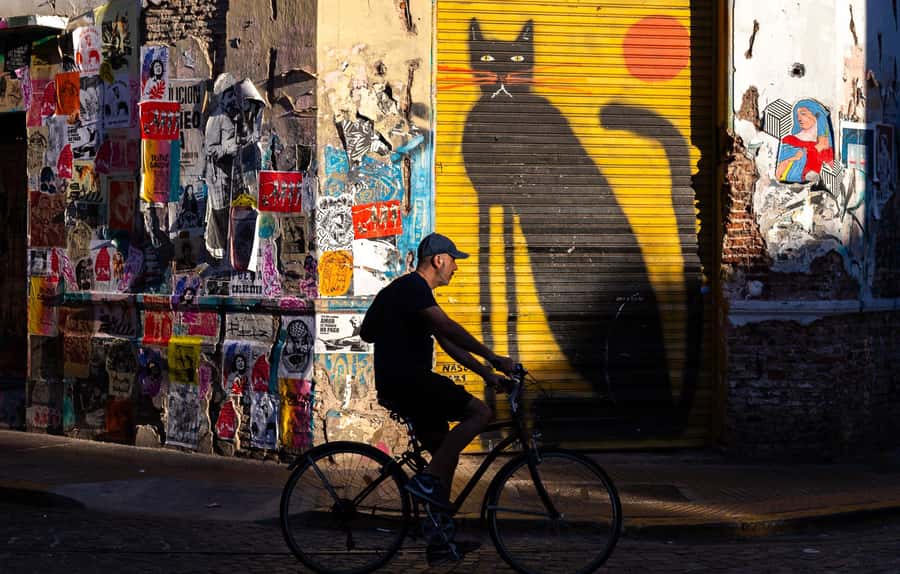
After La Boca, you take a public bus for about 15 minutes to San Telmo. This is included in the tour, and it’s a smart use of time. Without this structure, it’s easy to lose 20–40 minutes figuring out logistics and then arrive with less energy for photography.
The bus ride is also a small transition moment. You can review your last shots, check your camera settings, and plan what you want from San Telmo’s streetscape. If you like shooting in a consistent style—say, keeping exposure stable or focusing on shadows—you can reset your approach before you step out.
Also, because it’s a public bus, it feels like part of being in the city, not a staged transfer. You’re not trapped in a long vehicle schedule, and you still get that local-feeling pace as you arrive.
Dorrego Square and old cafés: finding composition in older streets
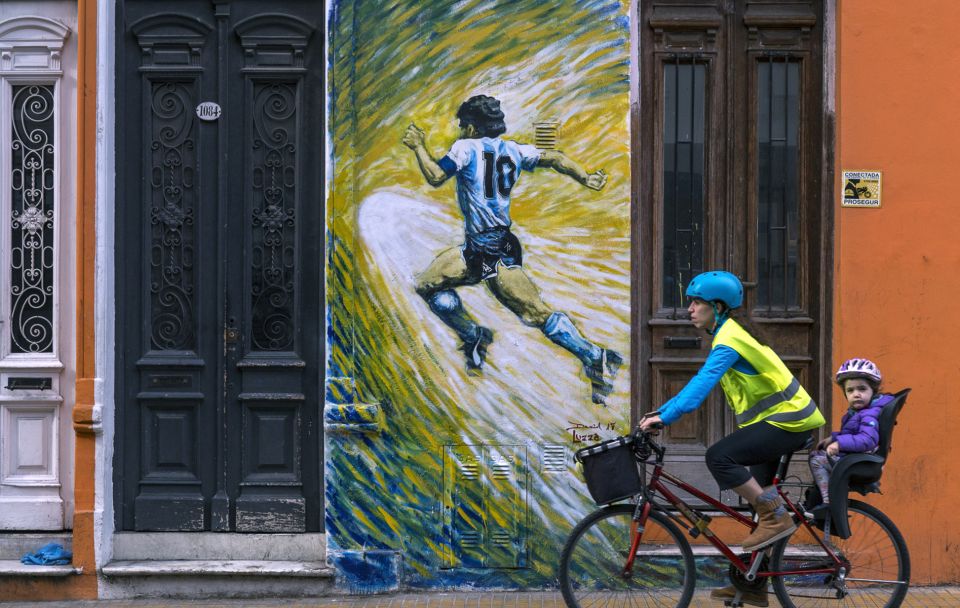
In San Telmo, you’ll start exploring with stops that fit the neighborhood’s mood. The plan includes Dorrego Square and old cafés, with time to photograph the character you usually only notice when you slow down.
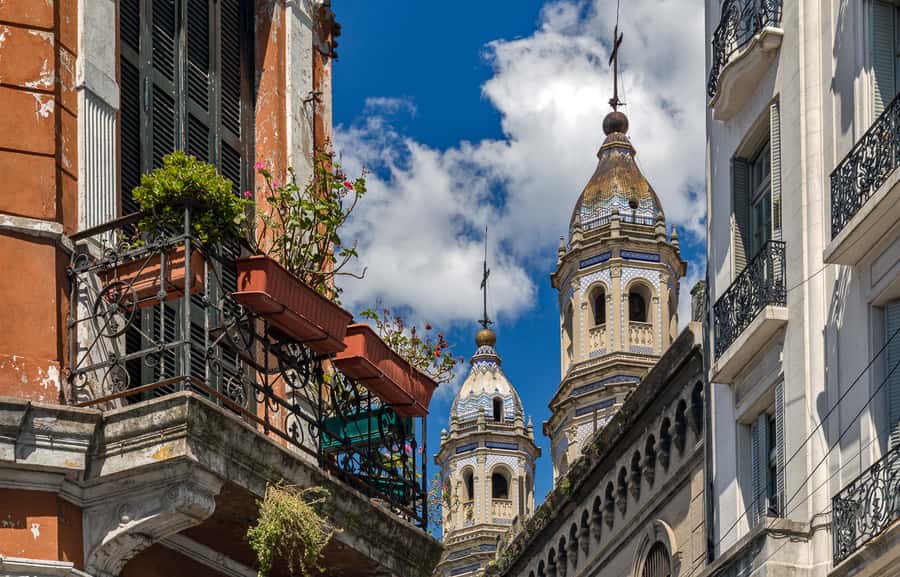
This is where composition practice pays off. Older neighborhoods often give you layers: building lines, doorways, window frames, and signage. They also tend to have more variation in lighting—shadowed corners next to brighter openings. Bernardo’s guidance on exposure helps you handle that mix so your images don’t end up too dark in one area and blown out in another.
From a practical photography angle, Dorrego Square gives you good opportunities for:
- Leading lines from streets and edges
- Framing through doorways and windows
- Story shots where people and place share the frame (without trying to force it)
If you’re using a wider lens, don’t be afraid to include nearby architecture for context. If you’re using a longer focal length, look for textures and smaller interactions—things you might miss if you only shoot wide.
And yes, you’ll still be walking. Wear comfortable shoes. Your future self will thank you when you’re reviewing photos at night instead of limping back to your hotel.
Old San Telmo Market: where your photos gain personality
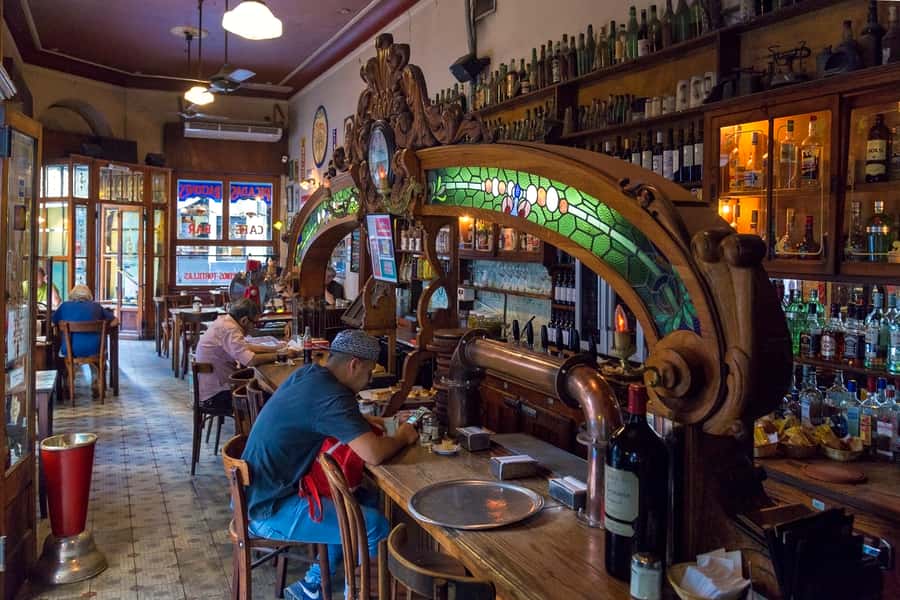
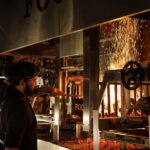
The tour’s standout San Telmo stop is the Old San Telmo Market. Markets naturally create photographic momentum. You get movement, layered details, and lots of natural background textures that add depth without you needing special gear.
This is a strong place to test what you learned earlier in the café intro. Composition tips matter here because indoor and semi-indoor areas can be tricky for exposure. Even though the tour doesn’t promise a specific lighting setup, you’re likely to face mixed light sources—bright areas next to shaded ones—so having guidance on camera settings helps.
Lens note for the market: since you’re advised to bring a 24mm–120mm range, you can work both ways. A wider lens helps you capture the scale and layout of the space. A longer lens helps you compress scenes and focus on detail without needing to shove your way into the middle of everything.
Also, this market stop gives your photo set variety. Your La Boca photos likely lean toward bold street color and textures. San Telmo Market photos often feel more layered and detailed—less about one iconic postcard view and more about a scene with multiple elements.
Bernardo Galmarini’s coaching style: what you should expect to learn
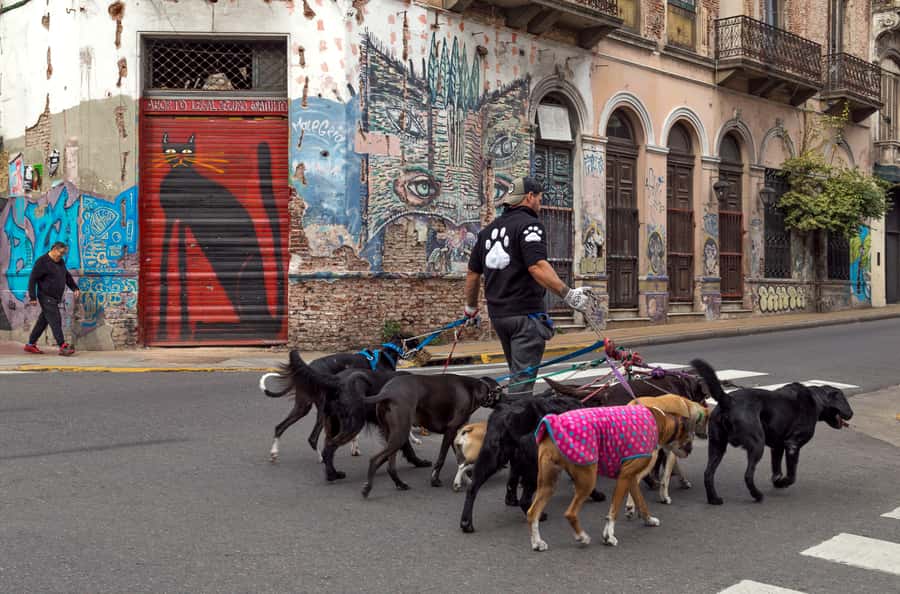
The tour’s biggest value isn’t only where you go. It’s how you’re coached while you’re there. Bernardo is described as a worldwide published travel photographer, and the coaching is personalized. That matters because amateur photography problems are usually personal problems: you might be overexposing, underexposing, freezing motion, missing focus, or framing in a way that doesn’t highlight what you really care about.
During the intro café talk, he covers basics such as exposure and composition if needed. Then, while you’re photographing in La Boca and San Telmo, you get tips about technical aspects—gear use, how to see a scene, and how to build a shot.
One theme shows up in the overall feedback: people describe Bernardo as helpful, patient, and easy to talk to, with fluent English. That’s important. If you get an answer you can actually apply on the next street corner, you improve quickly. If you’re stuck, the patience part is what keeps you from feeling rushed.
If you’re thinking about gear, the tour assumes you’ll bring your own camera and photo setup. Tripods and extra equipment aren’t included. That’s normal for a walking tour, and it’s also why your lens choice matters. The suggested 24mm–120mm range is a practical “most situations” set for street and architecture-style subjects.
Price and value: is $200 per person worth it?
At $200 per person for about 3 hours, the price only makes sense if you’re buying two things at once: time savings and personal coaching.
Here’s how this tour earns its cost:
- You get a structured route across two neighborhoods (La Boca and San Telmo) without spending your trip figuring out transport between stops.
- You get photo guidance tailored to where you are, not generic advice from a distance.
- You get included basics: coffee with croissants (or similar) and the bus transfer from La Boca to San Telmo.
- Most important: you’re not just collecting scenery. You’re learning how to frame and expose it.
What could make it feel overpriced for some people? If you already have a solid handle on exposure, composition, and lens choices, and you mainly want independent wandering, you could do that cheaper on your own. But even then, having someone point out the best corners—and helping you translate what you see into a strong photo—can still be worth it.
Who benefits most? People with:
- An interest in improving photography, not just collecting snapshots
- A camera and lens setup that’s ready to work (especially if you have 24mm–120mm coverage)
- Limited time and a desire to focus on a concentrated Buenos Aires photo story
Should you book this Buenos Aires photo tour?
If you want a structured photo day with coaching you can apply immediately, I’d book it. The route is efficient, the subject matter is strong, and Bernardo Galmarini’s guidance is the kind that helps amateurs improve without making it feel like school.
Book this tour if:
- You want photos you take yourself that feel intentional
- You like the idea of practicing exposure and composition while walking
- You’re comfortable with cobblestones and carrying your own camera gear
Skip or reconsider if:
- You don’t want any instruction and only want casual sightseeing
- You’re traveling with gear that doesn’t match the recommended lens range, or you’re unwilling to bring extra battery power
- You hate walking on uneven streets
If you want one clear takeaway: this tour is for people who care about photos and want real help getting them right—without losing precious time roaming.
FAQ
How long is the Buenos Aires private photo tour?
It lasts 3 hours.
Where does the tour meet?
The meeting point is Fundacion Proa, located in the heart of the Caminito area.
What’s included in the price?
A cup of coffee with croissants (or a similar snack), transportation from the Caminito (La Boca) area to San Telmo (about a 15-minute bus ride), and personalized photography guidance and tips.
Is it a private group?
Yes, it’s a private group.
What languages are available?
The tour guide speaks English and Spanish.
What camera gear should I bring?
You should bring your own camera and photography gear. A tripod is not mentioned as included. You’ll also want an extra camera battery. Comfortable shoes are recommended because you’ll walk on cobblestone streets.
What lens range is suggested?
A lens focal length range between 24mm and 120mm is recommended for most subjects, and a wider angle lens could be useful for indoor architecture shots.
How do I get to the meeting point from my hotel?
Transportation from your hotel to the meeting point and from the end point back to your hotel is not included. Uber and taxis are available in the city.