REVIEW · LA PAZ
From La Paz: Huayna Potosí Mountain 3-Day Ice-Climbing Trip
Book on GetYourGuide →Operated by Climbing South America · Bookable on GetYourGuide
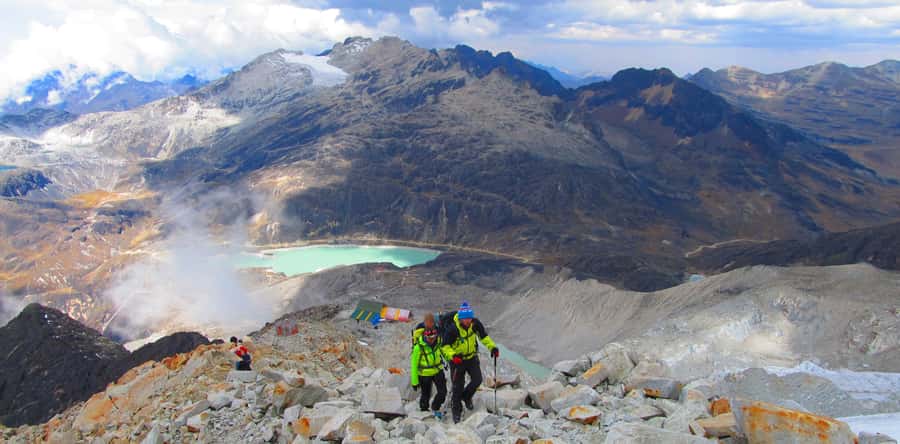
A glacier walk at dawn turns into a real summit story. Huayna Potosí near La Paz gives you that mix: first-time skills plus a genuine 6000-meter peak. I love how the trip builds in steps, starting with hands-on practice on Day 1, then moving you higher to a high camp before the long summit push.
Second, I like that the experience leans hard on safety and coaching—guides tie you to the rope during the climb, and many groups come away feeling confident and cared for by guides like Francisco, Andrés, and Francesco. The main drawback to plan for: Day 1 acclimatization and practice can be physically rough if your boots and gloves don’t fit well, so don’t assume “equipment included” means “perfect for you.”
In This Review
- The Big Picture: Why Huayna Potosí Works as a First 6000m Attempt
- Key Highlights You’ll Feel on Day 1 and Day 3
- Day 1 From La Paz Side to the Glacier: Skills, Warm-Up, and Real Gear Time
- Day 2 to High Camp: The Quiet Work Before the 1 AM Start
- Summit Night on Day 3: Crampons, Rope, and the Route’s Steepest Bites
- The Value of Included Gear (and What to Check Before You Go)
- Altitude Planning: Acclimatization, Diamox, and Smart Cold-Proofing
- Price and Value Check: Is $344 Fair for What You Get?
- Safety and Real Confidence: What the Guide Quality Changes
- Who This Huayna Potosí Trip Is For (and Who Should Skip It)
- Should You Book Huayna Potosí for 6000m Your First Time?
- FAQ
- What’s the duration of the Huayna Potosí trip?
- Where does the tour start in La Paz?
- What’s included in the mountaineering equipment?
- Are meals included?
- Is oxygen used during the climb?
- What should I bring for the cold and long day on the glacier?
- Is hotel pickup or drop-off included?
The Big Picture: Why Huayna Potosí Works as a First 6000m Attempt
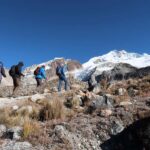
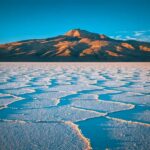
Huayna Potosí sits in Bolivia’s Cordillera Real, northeast of La Paz, and it’s a popular step-up peak for climbers who want high-altitude bragging rights without months of expedition logistics. This 3-day format is built around learning while you go—so you’re not just hiking and hoping.
If your goal is a first summit on a glacier, this route’s structure matters. You’ll get an initial half-day to acclimatize and practice, then a straightforward trek to high camp, then the summit night that starts around 1 AM. It’s intense, yes. But it’s also organized to teach you how to move safely on ice using crampons, an ice axe, and a harness system.
Key Highlights You’ll Feel on Day 1 and Day 3

- Hands-on ice climbing practice early in the trip, not just theory in a lecture
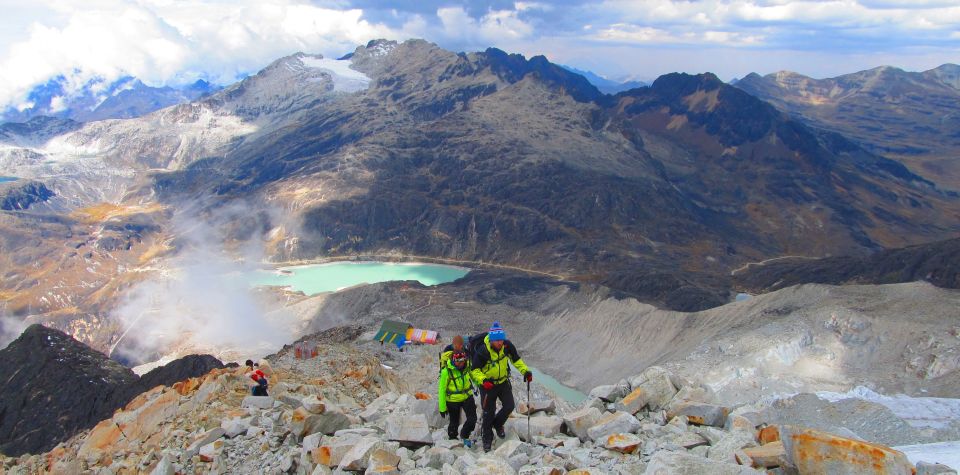
- Cordillera Real glacier time up close, including steep and exposed sections on summit day
- Rope safety throughout the climb, so you’re not managing everything alone
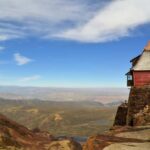
- High camp on a rock buttress, giving you a proper launch point for the summit route
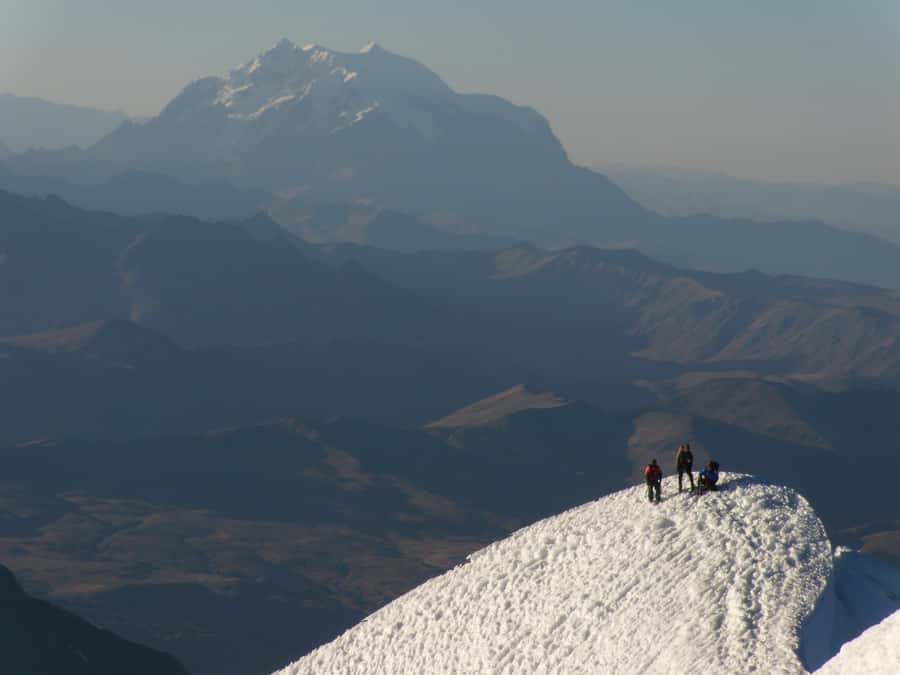
- Top panoramas of Illimani and Illampu, with big-mountain names at extreme altitudes
You can also read our reviews of more tours and experiences in La Paz
Day 1 From La Paz Side to the Glacier: Skills, Warm-Up, and Real Gear Time
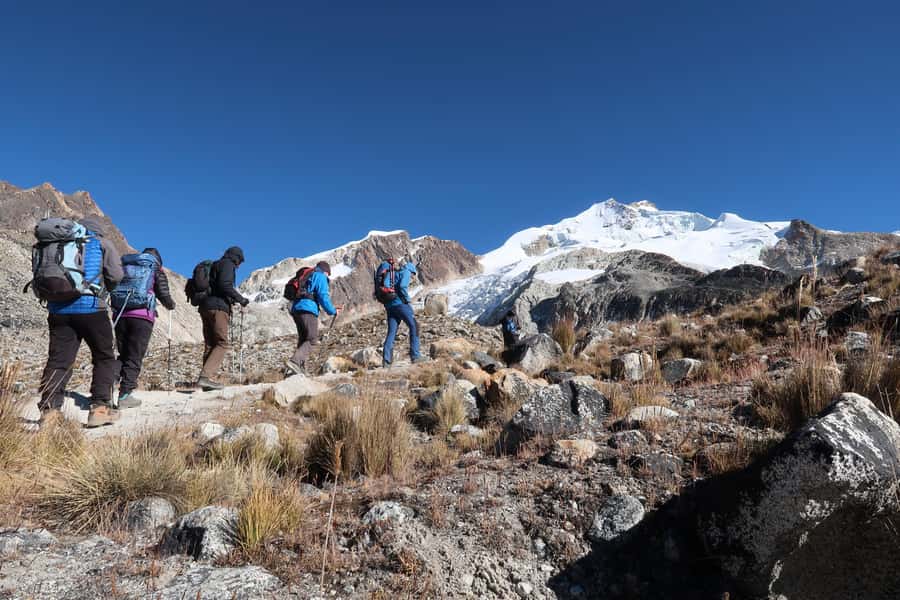
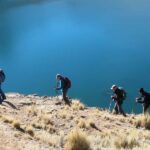
Your trip starts in La Paz with private transport toward Paso Zongo (about 1.5 hours). From there, you drop gear in a hut and eat lunch—important, because once you start moving, the cold and altitude stop being background. You begin with a 1-hour trek to the lower glacier, and this is where the tone changes: you’re not sightseeing anymore.
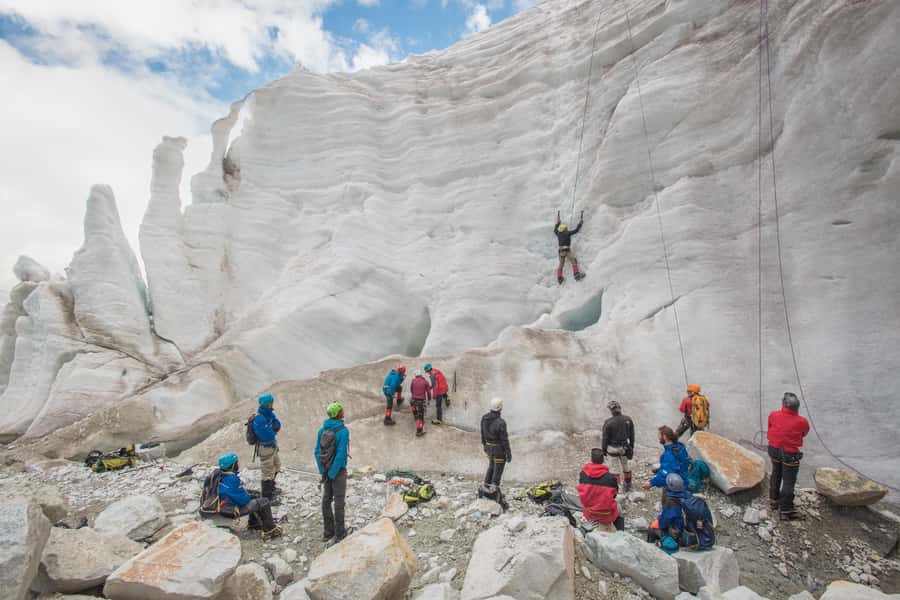
The next stretch is the real learning block: around 3 to 4 hours on the glacier with your guide briefing you and demonstrating basic mountaineering and ice-climbing techniques. Then you practice with the actual climbing system—ice axe skills, crampon movement on ice, and controlled steps while wearing the harness and safety setup your team uses.
Later, you work on small ice walls with ropes in place. That matters more than it sounds. A glacier summit can be mentally intimidating. Being shown exactly what the rope system feels like and how to keep your steps steady builds the muscle memory that you’ll lean on the next two days.
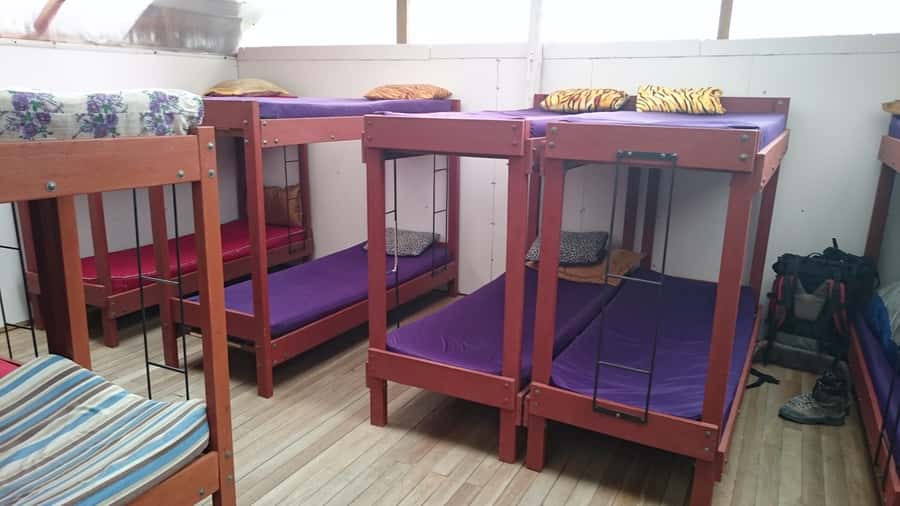
A quick hike brings you back to base camp for an overnight stay in a refuge. Dinner is cooked for you, and you’ll have lunch and dinner included on Day 1. The practical win here: you spend the evening resting with less decision fatigue. You’re not figuring out food or gear at altitude—you’re preparing to move again.
What to watch for on Day 1: if the included boots feel too stiff or heavy for your feet, it can make the practice hikes miserable. One group described Day 1 as the most painful part because they were walking on steep ground and rocks in rigid, heavy plastic boots. You can’t control all gear choices, but you can control what you do with your fit and comfort. Wear your layers exactly as suggested, and pay attention to foot comfort before you commit to the summit plan.
Day 2 to High Camp: The Quiet Work Before the 1 AM Start
After breakfast, you set off on a relatively easy 3 to 4 hour hike to high camp. The camp sits on a rock buttress at the base of the glacier. That means you’re not dealing with the full summit terrain yet, but you’re definitely moving higher into colder air.
This is a well-trodden rock path ascent—practical because it lets your body focus on altitude and stamina instead of constant route-finding. When you arrive, you prep your gear for the next morning. That sounds routine, but doing it carefully is how you avoid stupid problems at midnight.
You’ll rest, rehydrate, and get an early night in the refuge. Meals are included (breakfast, lunch, and dinner). The schedule is simple on purpose: summit day is a long climb and a long descent, so Day 2 is about setting yourself up to function when you’re tired, cold, and half-awake.
Summit Night on Day 3: Crampons, Rope, and the Route’s Steepest Bites
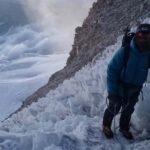
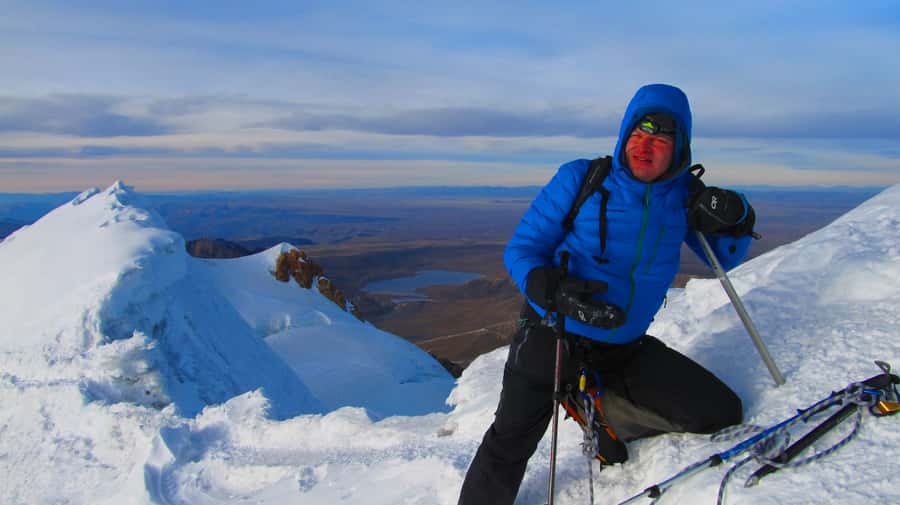
Day 3 starts very early—around 1 AM. Dress warm. Like, bring warmth like it’s your job warm. The cold on a glacier climb isn’t only uncomfortable; it can reduce dexterity, slow you down, and make transitions harder.
You’ll climb onto the glacier with crampons and your mountaineering gear. A major comfort point: during the entire climb you’re tied to a rope for safety. That removes one big source of uncertainty for new climbers—your guide and the system are managing the safety piece while you focus on steady movement.
The route mostly follows a trail on the glacier and includes two steep sections. One steep section is around 18,400 feet, called Pala Chica. Another feature is a snow and ice wall about 33 feet high—a classic “you’ll feel it in your legs” moment where careful technique matters.
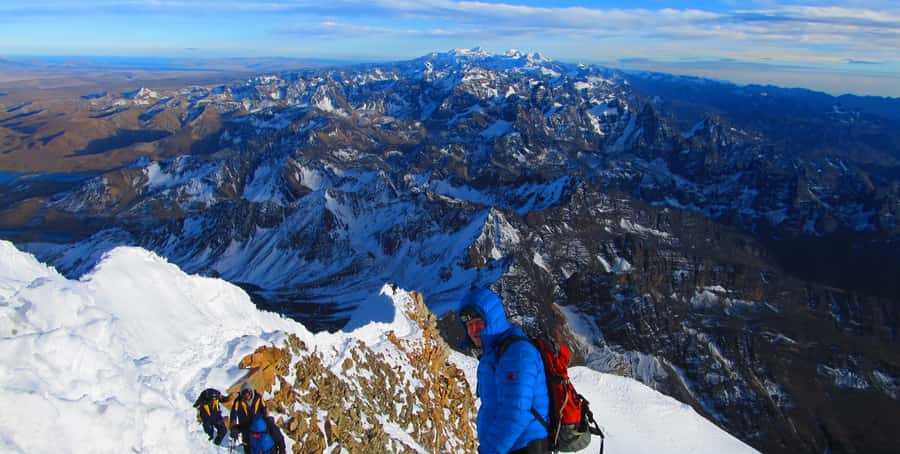
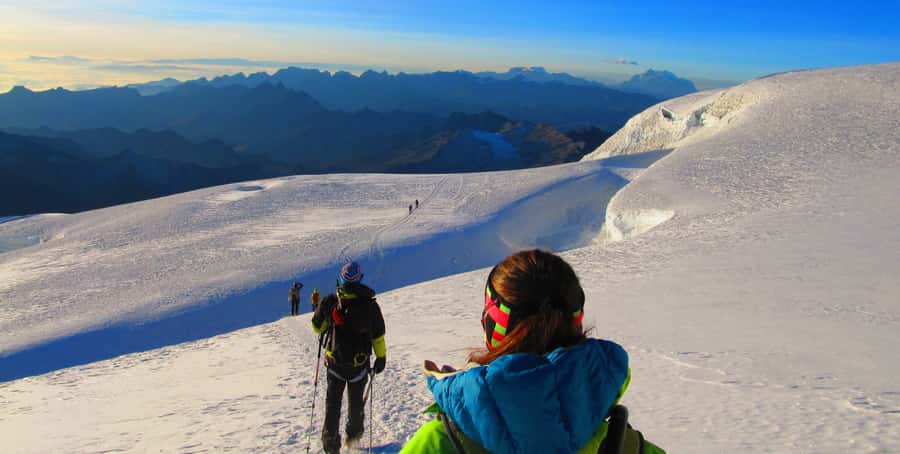
As you continue upward, you’ll keep following the glacier trail to around 20,000 feet. At that point, the summit is visible above you. That’s when the climb stops being “equipment movement” and becomes “goal-focused climbing.” The last segment is described as great climbing on an exposed ridge. Exposed means you’ll feel the drop and the wind more. It’s also where confidence from Day 1 practice really pays off.
When you reach the summit, you’ll get big, clear views—specifically of Illimani (21,100 feet) and Illampu (20,900 feet). Photos are fun, but also take a moment to breathe and look around. On high peaks, you earn every panoramic inch.
Then you descend the same way back to high camp. After a short rest and packing, you return to base camp to meet transport back to La Paz. The total climb time on Day 3 runs about 9 to 13 hours, so plan for a long, exhausting day that’s still structured enough that you’re not guessing your next move.
The Value of Included Gear (and What to Check Before You Go)
This trip includes a large chunk of what can make or break a first 6000m attempt: double mountaineering boots, ice axe, crampons, harness, extra cold jackets and pants, thick gloves, balaclava, gaiters, helmet, and a headlamp if needed. You also get ropes and protection equipment, a first-aid kit, and an oxygen bottle for emergencies.
That’s huge value at $344 per person, because you’re not paying separately for a full climbing kit or paying guide time while you search for rentals. It’s especially relevant if you’re traveling light and want to avoid a gear shopping list across countries.
Still, equipment is personal. Even though the tour provides gear, fit matters. If you’ve had issues with stiffness, toe space, or glove thickness on cold days, double-check what you’re being given. The one negative experience in the data wasn’t about the concept—it was about the specific comfort and condition of gear like boots and other items. If the gear doesn’t match your needs, your confidence drops fast, and with it your willingness to keep going.
If you want to reduce risk, come with your cold-layer system ready, and use the tour’s included clothing as the baseline. You can also ask ahead how to handle added personal gear items, since the program mentions a backpack and sleeping bag are available as add-ons.


Altitude Planning: Acclimatization, Diamox, and Smart Cold-Proofing
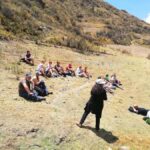
Huayna Potosí is not a “walk and you’re fine” peak. The tour itself notes that some acclimatizing is necessary before the climb. That’s why the itinerary has the lower glacier practice and the high camp day.
You’ll also see guidance on acetazolamide (Diamox): 125mg in the morning and 125mg in the evening as the “best” regimen mentioned. That’s medical advice, so treat it like a “talk to your clinician” topic. If you have any conditions or take other meds, ask a professional before starting.
Packing guidance is clear and very altitude-real:
- Thermal underwear (top and bottom)
- Thin liner gloves (plus the provided thick gloves)
- 2 pairs of socks (1 thin, 1 thick)
- A backpack (around 50 L) for the climb; rental is available as an add-on
- A sleeping bag rental option is available
- Sunblock and sunglasses (high UV at altitude)
- Snacks for the climb
- Passport or ID card
One practical tip: don’t overpack. Even if you’re carrying minimal gear, you’ll feel weight more on steep glacier approaches. The program also offers porters for personal equipment one-way up to 20 kg as an add-on, which can be a smart cost trade if you’re worried about fatigue.
Price and Value Check: Is $344 Fair for What You Get?
At $344 per person for 3 days, the value is strongest when you account for three things:
- Professional guide time across multiple teaching phases (practice, high camp, summit)
- Private transport and meals in the refuge system (breakfast/lunch/dinner as listed)
- Full mountaineering kit including major cold-weather items (not just crampons and an axe)
Many adventure trips advertise “gear included” while quietly excluding the expensive parts or the cold-weather shell. Here, the included list is broad, including clothing layers that matter at night and early morning.
The one part you should treat as “cost variable” is comfort. If you’re picky about boot fit or you need a sleeping bag/backpack rental, those can add cost. If you’re comfortable with the standard gear and you arrive with the right base layers, this price feels like it covers the essentials without nickel-and-diming you.
Safety and Real Confidence: What the Guide Quality Changes
The guides are a big reason this trip earns such strong satisfaction. In the provided data, people named Francesco, Francisco, Andrés, and Macario and repeatedly described them as supportive, motivating, and safety-focused. The key pattern I’d take from that: good guides don’t just manage rope systems—they manage your pace and your mindset.
You also get daily structure. Your guides explain what happens next and what to expect, which helps on a peak where you’re cold, tired, and moving for many hours. On summit day, rope safety throughout the climb means you’re tied in; it’s still hard, but you’re not forced into solo decision-making at the worst moments.
Who This Huayna Potosí Trip Is For (and Who Should Skip It)
This is best for you if:
- You want a challenging first Andes glacier adventure
- You’re comfortable with a good fitness level requirement
- You want hands-on ice climbing instruction and practice, not just a hike
It’s not a match if you fall into the “not suitable” categories listed:
- Pregnant women
- People with heart problems
- People with high blood pressure
- People with mobility impairments
Also be ready for the reality of cold early mornings. Dress warm, protect your hands and feet, and plan to move for long stretches on steep terrain.
Should You Book Huayna Potosí for 6000m Your First Time?
If you want one of the more straightforward 6000m introductions in the Cordillera Real—where you learn fundamentals on Day 1 and climb with rope safety on summit day—this is a smart choice. The included gear, meals, and coaching make it feel organized and focused, and the summit payoff is real: you’re climbing toward famous Andean peaks like Illimani and Illampu.
I’d book this especially if you’re the type who wants a guided system for safety and skills, not a vague “good luck on your own” adventure.
Before you commit, do one thing that’s not optional: make sure the gear feels right. If you know your feet run hot or your stance needs more support, ask questions and plan for comfort. If the boots or glove setup doesn’t work for you, that can steal energy from what should be a confidence-building journey.
FAQ
What’s the duration of the Huayna Potosí trip?
The trip runs for 3 days.
Where does the tour start in La Paz?
The meeting point is outside the Pachamama Gallery at Linares 940, La Paz, Look for the Climbing South America flag.
What’s included in the mountaineering equipment?
You get all mountain equipment listed in the program, including double mountaineering boots, ice axe, crampons, harness, thick gloves, balaclava, gaiters, helmet, and a headlamp if needed, plus ropes and protection equipment.
Are meals included?
Yes. Lunch and dinner are included on Day 1, all three meals are included on Day 2, and breakfast and lunch are included on Day 3. Drinks are also mentioned.
Is oxygen used during the climb?
An oxygen bottle is included only for emergencies and is not used for climbing.
What should I bring for the cold and long day on the glacier?
Bring thermal underwear (top and bottom), thin liner gloves, 2 pairs of socks (1 thin and 1 thick), sunblock, sunglasses, and snacks for the climb. A backpack and sleeping bag are available as add-ons.
Is hotel pickup or drop-off included?
Hotel pickup and drop-off are listed as not included. You’ll use the meeting point and the tour’s private transport.